Setup Prismic
2. Setup Prismic
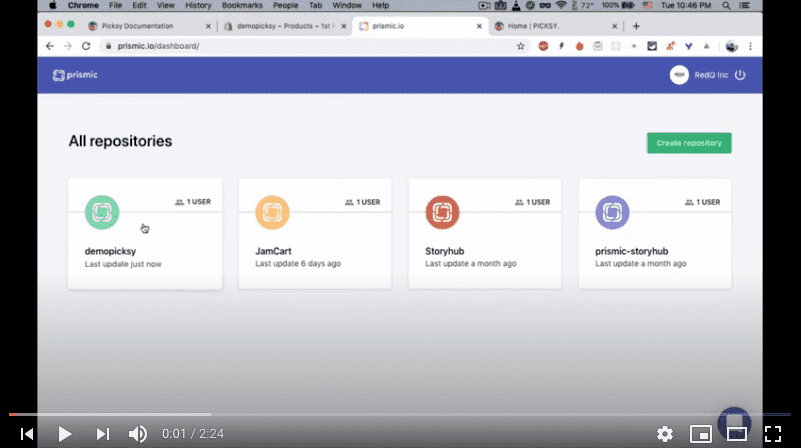
Prismic CMS setup should be straight forward. you create your account from here. Then Create a repository (keep the repository name in small letter e.g. mysitedata or mysitedata). Provide your repository name in the .env.development and .env.production file. After that you need to create Custom Types. We have provided the custom types in the prismic-custom-types folder.
There are 3 custom types in the prismic-custom-types folder.
- Create a repeatable type named Category and paste the category.json file inside this type. it should auto generate the type structure. Category type should contain same data as collection in shopify. we have used prismic category in our site menu section. Separate prismic category created just so that we can control the menu section and show and hide them whenever we want.
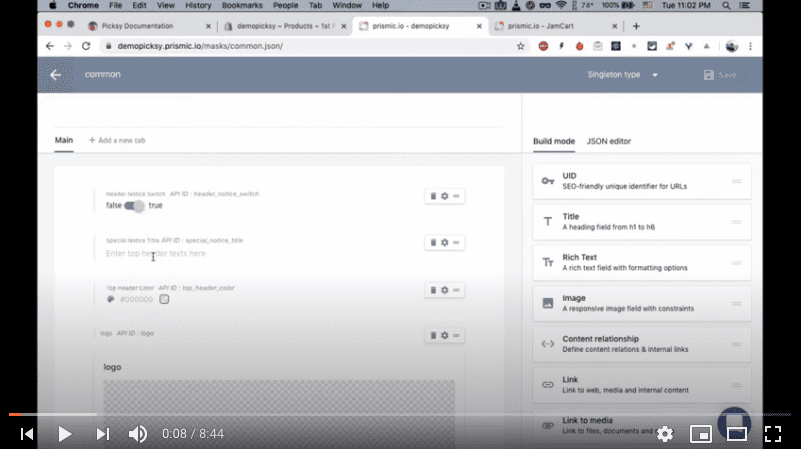
- Create a single type name Common and paste common.json to generate the structure. From the structure you can see that this are the data that is being used mostly in our header and footer section across the app.
- Create another single type name Home and paste the home.json file. You guess it right this is our home page and we will keep all our static text, banner image, category block, section here.
In the .env.development and .env.production provide your repository name.
GATSBY_PRISMIC_REPOSITORY=put_your_prismic_repository_name_here
We will try to provide more details about prismic in details in the Dedicated Prismic section. Make sure you put some data here so that you can see that data changes in the Setup Gatsby section.
How to setup Prismic for Shopify
This video was already part of getting started under installation section but for relevance giving it here also


